This post was extensively discussed on Hacker News.
Alex Buznik, nas.net.ua kindly provided a two-part Russian translation: part1 and part2.
This post discusses hardware considerations, installing Linux, setting up software RAID, robustness and dealing with data corruption.
I’ve been running for a decade a self-built NAS at home, so I thought I’d write down my experience so that others might gloat over my many failures and gasp in awe at my few triumphs.
The NAS is perfect because it is simple, safe, modular and extensible and it is cheap because it is built of second hand, commodity parts.
The NAS mostly stores files (documents and media) on a software RAID 6 and serves them over Windows shares to the local network. I’m staying away from proprietary NAS solutions because a hardware failure would make data recovery hard to impossible without the exact same hardware replacement. Every piece of hardware, from the hard disks to the case and motherboard have been switched out for something else in this decade, sometimes more than once, so the focus on modularity paid for itself. Since long-term data integrity and robustness is a concern, the NAS should run some sort of redundant RAID level.
Goals
| Goal | Description | Solution |
| Function | The NAS serves as a network attached file system for home use; the NAS operates a few hours a day and is either off or in standby most of the time | Commodity hardware, open source software, modularity, keep it simple |
| Interoperability | Commonly used computer platforms should be able to access files on the NAS. Commodity hardware should be able to connect to the NAS. | Samba (aka Windows shares) on Ubuntu, USB, SATA. Connect LAN to Wifi router, does name resolution and time server. Access and manage with SSH. |
| Modularity | Hardware and software components should be interchangeable without redesigning the entire system | x86 PC platform, Linux, Docker |
| Control | I want to control which software is installed on the NAS and what it does | Ubuntu 18.04 LTS |
| Data integrity | Files of arbitrary size (within reason) and content should be stored on the NAS and not corrode or lose integrity over time | RAID 6 with 4 hard drives, ext4fs with checksumming, scrubbing, manually assembled RAID, ECC RAM. Sign archives with par2. |
| Noise | Noise should be low and tolerable | HDDs in standby, SSD as primary OS disk, write-mostly, lots of RAM, passive cooling |
| Cost | Use commodity hardware and free, open source software | 2nd-hand commodity hardware, hard disks instead of SSDs |
| Low maintenance | Avoid time critical maintenance | ufw firewall accepting connections only from internal network, no auto-updates, limited software, Docker, not accessible from the Internet. |
| Data safety | In case of hardware loss or theft unauthorised parties shouldn’t be able to access the data | dmcrypt with key on external device |
| Low power consumption | Power consumption should be in line with the server’s function | Components in stand-by most of the time, SSD, RAID in write-mostly |
| Compact | Physical NAS dimensions should be small; no space wasted | 2nd hand HP proliant microsever gen8 |
Non-goals
- Typical media-server tasks: streaming, encoding, transcoding etc
- Bitcoin mining
- Torrenting
- Everything else 🙂
Getting the Hardware
Getting the right hardware is the hard-(pun)-est part as it is the platform for modularity, price, energy consumption, size and many other goals I’m interested in. There are many second-hand, cheap proprietary NAS servers around, but I don’t like the idea of closed hardware and software systems. Eg, if a hardware RAID controller stores data in a proprietary format on the hard drives I would need the exact same replacement controller to recover that data in case of a controller failure.
Space is also an issue, so the server should be compact while allowing running Linux on it; that is quite hard to find as most compact NAS’ out there are proprietary systems and don’t allow installing your own OS. There are plenty of used x86 PCs and servers, but they are mostly too big or don’t have enough drive bays or SATA ports. Connecting drives over USB is also not an option because of the low speed, higher power consumption and space requirements. The first couple of my NAS revisions around 2010 used a compact barebone and later a mini tower case around which had 3 or 4 hard disk bays, but I find those box formats harder to come by these days. Lucky you if you get one at an affordable price!
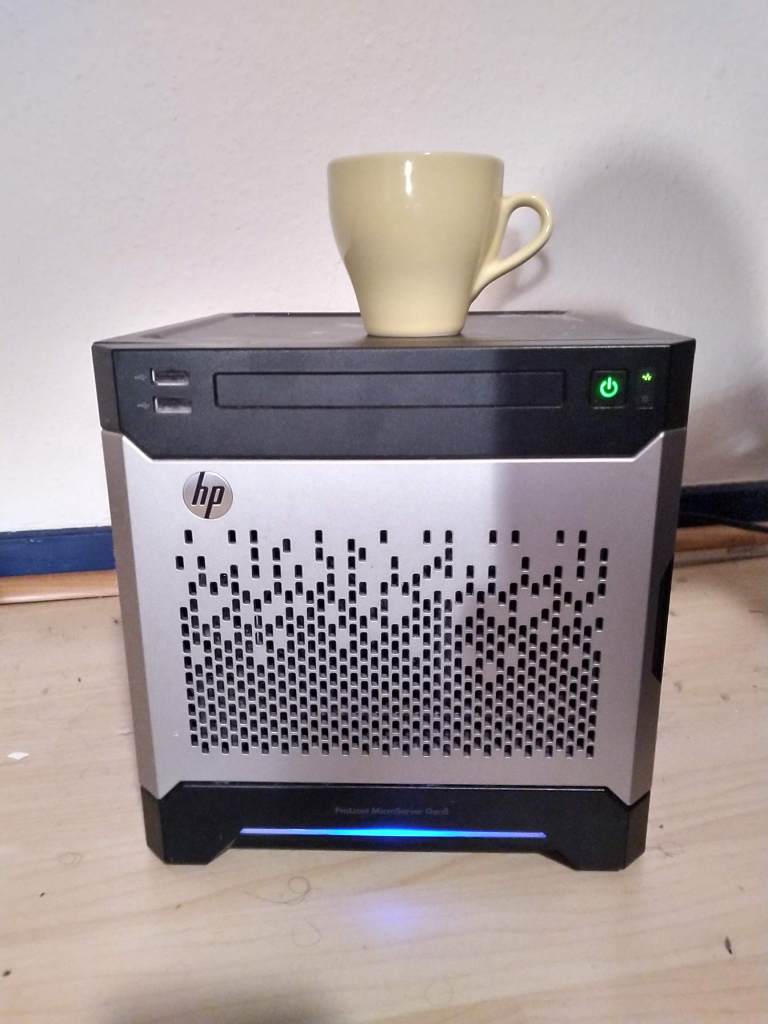
I came across a used HP proliant microserver gen8 and haven’t regretted it ever since. The base model came with 2GB ECC RAM, a Celeron 2-core CPU and no hard drives for about 100€. There’s an excellent review of that server on Louwrentius. The server is extremely compact (about 26cm each dimension), reasonably low noise (although not silent) in standby, has a passively cooled CPU, two GBit ethernet ports, four 3,5″ hard drive bays and a somewhat hidden proprietary format slot for a fifth low-profile 2,5″ disk which I use for an SSD. The drive bays can directly receive SATA disks while the 5th slot requires a 4 pin FDD male-to-SATA adapter and a SATA cable to connect a 2,5″ SSD to the motherboard. As an added bonus, the server features ILO which allows remote access to the server with a web browser – so no need for a keyboard or screen!
I admit that the server isn’t 100% commodity parts; eg. a motherboard or CPU failure would require ordering the exact same spare parts (which is probably going to be expensive) or building a completely new server on a different platform. However RAM, network and storage are fairly standard, I run Ubuntu on it and the benefits outlined earlier weigh enough to take that risk. About 6 years later the server still runs without any issues; barring survivor bias, I think that approach worked well.
The server I purchased had firmware from 2014 and HP thankfully started publishing updates for free recently, the last one from late 2019 which I flashed the microserver with for a slick HTML5 management UI.
The server underwent various upgrades over the years; from a RAID5 array of three 2TB hard disks to the current setup of 3x6TB + 1x8TB + 1x 512MB SSD and a CPU upgrade to a Xeon model and a RAM upgrade to 16GB ECC. I almost exclusively repurpose external USB hard drives (after opening , extracting the HDD and kissing the warranty goodbye) which are cheaper than internal ones… at first that is surprising considering the extra hardware (case, USB-to-SATA adapter, cables, power supply) they come with; however the warranty and technical specs are significantly inferior to those of internal drives which explains the price difference. Since the server runs a RAID 6 (the entire point of which is to survive disk failures) I think that is an ok risk to take.
The server is connected over an Ethernet cable to the home Wifi router; network speeds are close to 100mb/s which is ok, the USB3 ports can do around 40mb/s.
Installation
ILO makes setting up the server easy even without a physical keyboard and screen. I started with Ubuntu server LTS 14.04, switched over to 16.04 and am currently running 18.04. The upgrades never worked in place, in each case a fresh installation was required.
I recommend installing a VM (like VirtualBox) on your workstation, booting Ubuntu Server 18.04 from a live image and installing Ubuntu on a USB harddisk. I couldn’t get the Proliant microserver to boot with UEFI, so a traditional grub BIOS installation is required.
The four hard disks are partitioned according to the schema below: a 1MB partition at the beginning for the GRUB boot loader, a 50GB partition for Ubuntu and a 5.5TB partition for the RAID.
I used the Ubuntu Server 18.04 alternative installer to set up the Ubuntu partitions as a RAID 1 which mirrors that partition over all hard disks. The installer is able to install Ubuntu into that RAID 1 and GRUB is able to boot from it. In case of a hard disk failure, just removing that hard disk will allow the server to boot again.
+-------------------+
| 1MB bios_grub     |
|                   |
+-------------------+
| 50GB Ubuntu ext4  |
| RAID 1            |
+-------------------+
| 5.5TB Data        |
| RAID 6            |
+-------------------+
For the installer to work, there need to be at least two disks in the RAID. More disks can be added later. Just make sure to install the GRUB bootloader on all disks with:
grub-install /dev/sdXIn my first experiments Ubuntu was able to boot fine, but wouldn’t activate the ethernet cards. This requires some fiddling with netplan.
/etc/netplan/01-netcfg.yaml
network:
  version: 2
  ethernets:
    eno1:
      dhcp4: true
      dhcp6: true
      optional: true
    eno2:
      dhcp4: true
      dhcp6: true
      optional: true
Boot RAID considerations
As discussed in “installation”, Ubuntu boots from a RAID 1. md mirrors changes to all boot partitions, which is awesome. The boot RAID is mapped under /dev/md0 – I didn’t find a way to assign a name to it, but I found the device name to be stable. Unfortunately Ubuntu will constantly access the boot drive during normal operation, which in my case means that four drives are always spinning. I tried various things like remapping log directories to a ram disk and pre-loading files, but the resulting jungle of scripts is impossible to maintain. The solution turned out to be quite simple and elegant, after a hack: I installed an SSD in the 5th hard disk bay and added it to the boot RAID 1. While mirroring worked, the Proliant (gen8) BIOS won’t boot from the 5th bay if it finds hard disks somewhere else. The solution is a script which runs after boot and fails all mechanical hard disks in the RAID:
mdadm --manage /dev/md0 --fail /dev/sda2 /dev/sdb2 /dev/sdc2 /dev/sdd2The script is a bit more complex than that as device names are not stable and various error conditions need to be taken into account (eg. the RAID shouldn’t be touched if a harddisk is failing) – but that is a topic for a different post. MD will forget that the disks have been marked as failed after a reboot, which is a useful default, as it allows the server to boot from any available harddisk.
Important: As I wrote earlier, I very rarely update software on the server, but the few times an update is needed, the missing harddisks need to be re-inserted into the RAID so that updates are mirrored to all boot partitions.
Data RAID considerations
The second software RAID running on the server is also the important one: the data RAID. My storage needs have historically competed with advances in storage technology, so the data RAID underwent all sorts of transformations starting from a dual disk RAID 1 to a 3 disk RAID 5 to a 3 disk RAID 1 to a 4 disk RAID 6 where it is currently.
RAID 1 is imho the best solution if you can afford it; it is the simplest to manage, offers the greatest data consistency and availability level, the best performance and is, as a pleasant side effect, also the most quiet to operate thanks to write mostly mode which allows spinning down all but one disk when data is only read from the array. Sadly, my data needs exceed what I can do with a RAID 1.
RAID 5 is a good compromise between redundancy and storage efficiency, so I operated the data RAID for many years in that mode. However the setup is a bit risky, as a though experiment demonstrates: imagine a hard disk breaking suddenly in the middle of the night. By the time I notice the failure, procure a replacement and install it at least 2 days have passed, plus another 12 hours for a full resync. Thus the array remains degraded and unprotected for 2,5 days – any further failure in that time frame destroys all data irrevocably.
RAID 6 is currently the level of choice for my use case: it offers half the total capacity at twice the availability, being able to survive a double disk failure. The only downside is that mdadm’s “write mostly” mode doesn’t work, so any access to the RAID requires four active disks and is quite noisy.
When creating the RAID with mdadm I made sure to assign it a name, so now it’s mapped under /dev/md/data.
In order to increase data consistency, I have the NAS run a script which scrubs the data RAID. This is a long running, I/O intensive and noisy process that keeps the disks busy and should probably be executed when the NAS isn’t needed; for a home NAS that’s weekdays during office hours. Cron is your friend.
A note about partitioning: you can use raw devices (/dev/sdb, /dev/sdc…) without any partitions, but it is not recommended. Having partitions (with labels such as RAID_1) makes sure in case of a rebuild or disk swap the drive isn’t accidentally installed in a different computer and the data isn’t overwritten (an unpartitioned drive will always appear to contain no data and thus “safe” for formatting).
RAID encryption
The next step is to set up encryption for the data RAID. I used dmcrypt LUKS for that, storing the key on a USB stick. Make sure to backup both the key and the LUKS header, otherwise the data won’t be accessible in case of a corrupted header. The benefit of encryption is that I can move the server around without the fear of data theft, as long as the encrypted RAID and the key are transported over different routes.
The encrypted data RAID is a block device mapped to /dev/mapper/data
The filesystem
The file system of choice is ext4 with a few tweaks:
mkfs.ext4 -O metadata_csum -E lazy_itable_init=0,lazy_journal_init=0 /dev/mapper/data These options enable metadata checksumming which increases data consistency and disable lazy initialisation; the latter is especially important for a large array with mechanical disks, as inode initialisation will take several days otherwise.
In the spirit of modularisation the data RAID isn’t mounted in /etc/fstab, but instead mounted with a script and mdadm during boot. That script also mounts the data RAID file system with the noatime, nodiratime and data=journal options, runs fsck before mounting it, adjusts the stripe_cache_size and tweaks power management.
Also note that for large ext4 file systems, the first write access can take very long – so check out this workaround.
The Proliant’s stock Celeron CPU became a bottleneck with dmcrypt as it lacks hardware assisted encryption, but a cheap upgrade to a Xeon E3-1220L for the same socket solved that while also halving the TDP to 17 Watt.
Update September 2020: I don’t recall if this has been always the case or started occurring after an update, but the data RAID hard disks will never spin down even if idle. The reason is ext4’s multi mount protection which constantly writes to the filesystem. Multiple mount protection can be tweaked or disabled (that is what I did) with tune2fs.
More data safety!
In 2020 ext4 and md are, unfortunately, still not able to effectively counter bit rot which silently corrupts files. I hear and read conflicting testimonies about ZFS which supposedly handles data corruption better and will give it a try at some point. For now, I use md5sum to create and verify checksums of my backup .tar.gz archives and parchive to create error recovery files. I’ve written about parchive before and remain to this day a dedicated fan.
Automation
I’ve mentioned ominous “scripts” here and there, but the ugly truth remains that the current setup requires a considerable amount of scripting to run smoothly. On the plus side, most of the day to day operation is now scripted and automated, required no manual intervention: RAIDs assemble on their own, are fault tolerant and the server operates even when one or two hard disks break down. Backups are archived and checksummed automatically and a periodic check alerts about corrupted files which I then manually (I like to be involved in these things…) correct. Some of the server scripts are available on my github repository, more will follow soon.
Network
The server uses the following network components:
- netplan for managing the two onboard ethernet cards (see installation)
- UFW to block all incoming traffic but SSH, samba and netbios
- netbios to announce the server name to the home router and other computers
- samba to share files in the local network
I’m using samba in a read-only mode; a few directories (like music and movies) are shared with guest access, a few other directories with personal documents are password protected, but again read-only. Any write operations to the data file system require SSH access. Since ext4 doesn’t offer snapshots I’m still worried about that after-midnight “delete by mistake” after a couple of drinks; I haven’t found a good solution for that yet. Browsing samba shares in Ubuntu nautilus can be slow for large directories – if it becomes too much to handle, consider using CIFS or sshfs.
Video & Graphics
I never thought I would need this, but the day finally came where I needed to connect a physical screen and keyboard to the gen8 – and couldn’t get a desktop environment running. The gen8 has a Matrox g200 graphics card for which Ubuntu dropped support a long time ago, but there is a way to get some graphics out of it.
First step: install desktop support on the server environment:
apt install ubuntu-desktop
After rebooting you’ll notice a 640×480 login screen. There are no other modes available in display settings. This comment [1] on a related issue helped:
# Install vesa xserver. Was not needed in my case.
apt-get install xserver-xorg-video-vesa

# Boot into text mode
init 3

# Create new X-server configuration
X -configure

# Install configuration. The original post says to replace mga with vesa; in my case, vesa was already pre-filled.

mv xorg.conf.new /etc/X11/xorg.conf

# Boot into graphics
init 5
Fair warning: graphics acceleration is not available and the maximum resolution is 1280×1024.
Funny fact I found out while researching: the gen8 has a non-standard DisplayPort connector at the front behind the door.
Resources
[1] https://bugs.launchpad.net/ubuntu/+source/xorg-server/+bug/1316035/comments/32
Credits
Thanks to Alex Buznik for spotting a mistake in the SSD connection paragraph.

Wow, very detailed, love it! I want to build my own NAS, I am also considering ZFS, have to buy some hard drives. However I have some extra goals like:
– Torrenting
– Streaming
– Bitcoin node
I was thinking of using borg for the backup part, as it has a lot of nice features.
LikeLike
Don’t let the naysayers mislead you, many of the things you’re working around or worried about would be solved by using ZFS: Enterprise tested reliability with top to bottom bit rot protection, encryption, compression, snapshots, ZFS send / receive for fast and efficient archiving…
Checkout iXsystem’s soon to be released TrueNAS Scale if you want to stick with Linux and Docker, but use ZFS.
Also, you should look into WS-Discovery (WSD) as a replacement for noisy, obsolete NetBIOS:
https://github.com/christgau/wsdd
https://www.truenas.com/community/resources/how-to-kill-off-smb1-netbios-wins-and-still-have-windows-network-neighbourhood-better-than-ever.106/
LikeLike